
Build your own climbing gym at home
Bad weather, not much time, screaming children? With this DIY home gym for your living room, there are no more excuses – for around 120 euros.
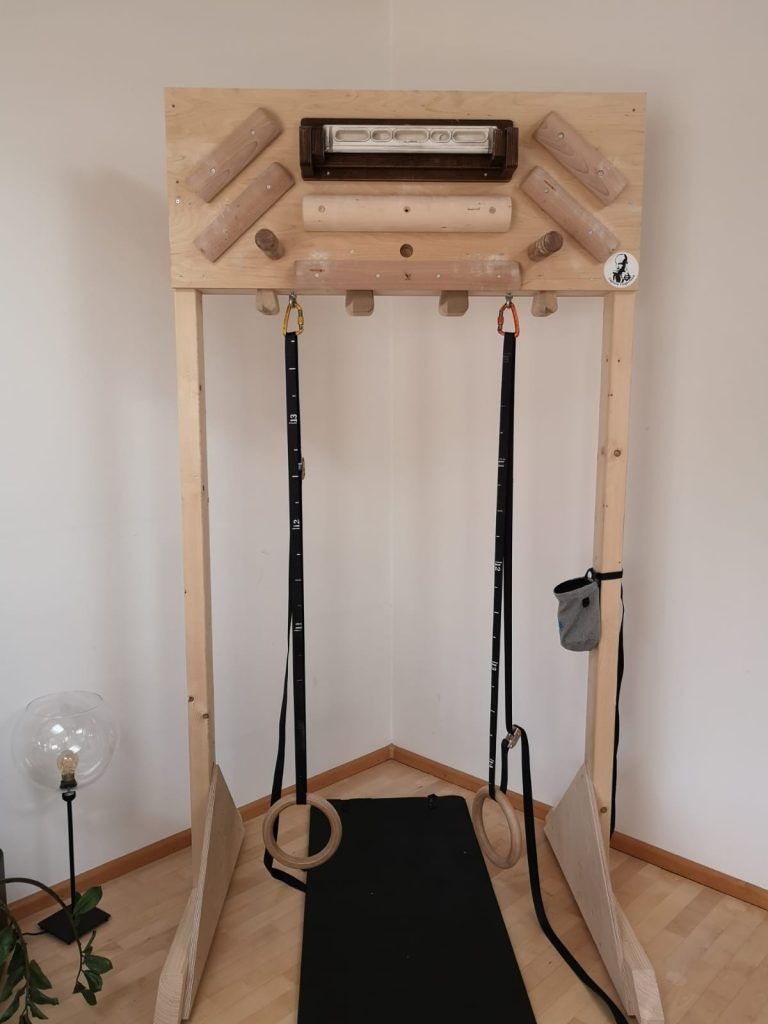

Unfortunately, on some days, certain things get in the way of your motivation to go climbing: bad weather, everyday commitments, screaming children or a long day at work.
Text & photos: Martina Scheichl
To make training possible even under adverse conditions, we have designed a home workout station. It’s a well-thought-out design – particularly when it comes to the arrangement of the handles. There are no limits to your own ideas.
Our starting point: a full-scale training area won’t fit in the living room. Our aim was therefore to find a good compromise that would allow us to carry out static strength exercises – particularly for the fingers and core muscles – as efficiently as possible at home. Commercial home solutions (such as those by Dave MacLeod or Rustam Gelmanov) do exist, but they’re quite expensive. And doing it yourself gives you a real sense of achievement, too.
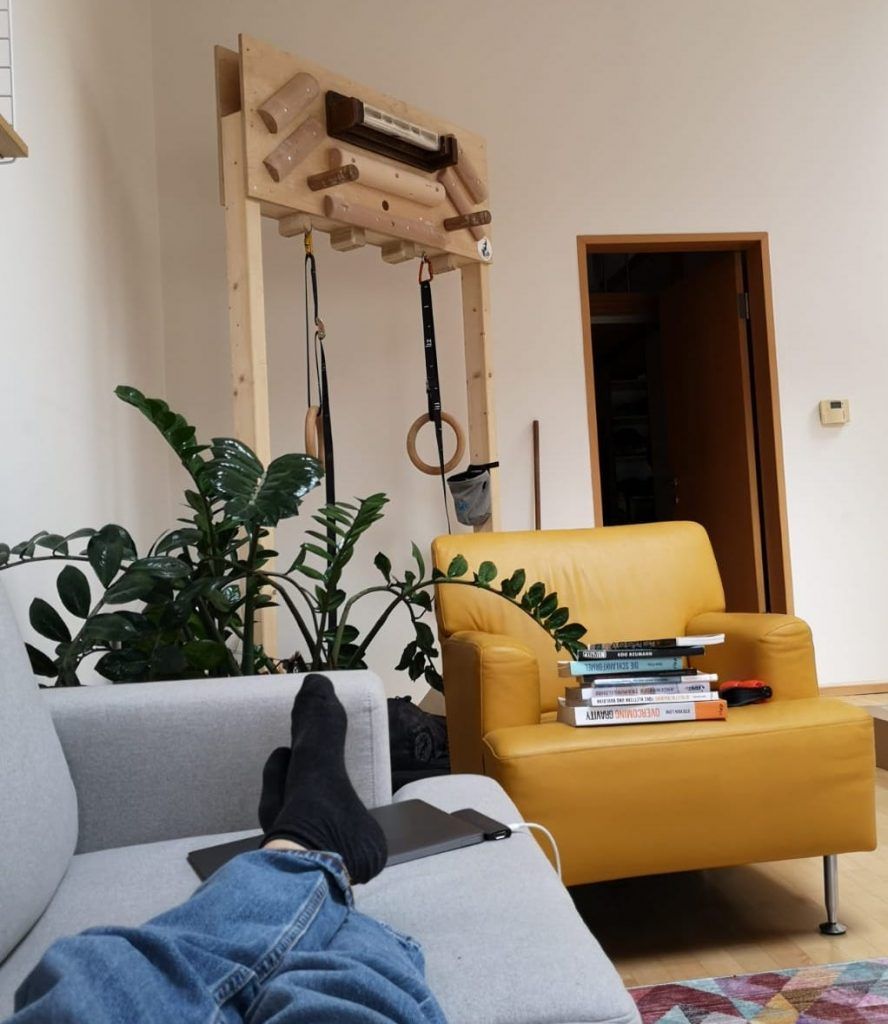
Material for the body:
Note: In total, you will need approx. 8 m of structural solid timber (100 × 60 mm) for the beams and connecting pieces.
Dimensions of the finished climbing gym: 230 cm × 125 cm × 100 cm.
Cost: approx. €120 (excluding hanging board, including sloper strips). For comparison: Beastmaker approx. €125, Captain Fingerfood solution approx. €150.
1. Cutting to size: We had the wooden parts cut to size by a joiner (this is usually also possible at larger DIY stores). There are six components for the posts and four for the board body. Only the milling for the dowels is a bit more labour-intensive – here, we also screwed a wooden beam behind the multiplex panel to ensure greater stability.
2. Building the fingerboards: The board body should offer enough space for plenty of grips whilst remaining sturdy. Depending on the ceiling height, you can hang the panel lower or higher (higher only if you extend the side panels upwards). We’ve made sure that 30 out of 50 cm protrude into the body.
Tip: Compared to the Beastmaker, the Captain Fingerfood allows you to adjust the angle by an additional 10 to 20 degrees whilst maintaining the same hold positions. Furthermore, the fingerboard is portable – you can remove it from the bracket and take it to the crag or with you when travelling.
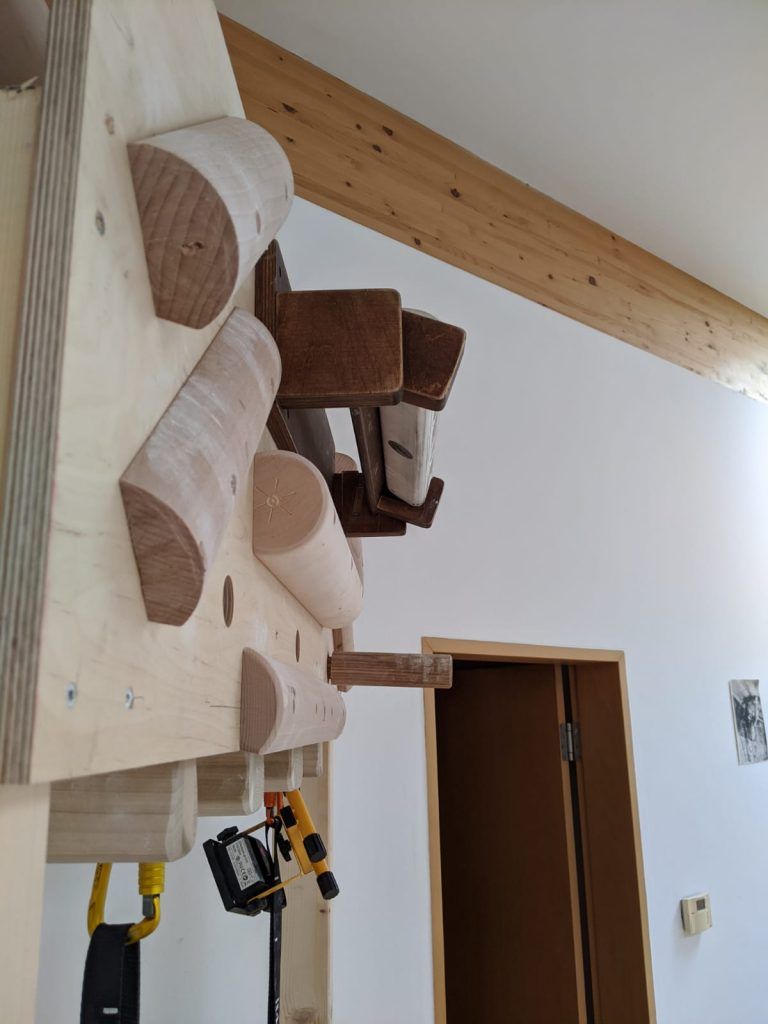
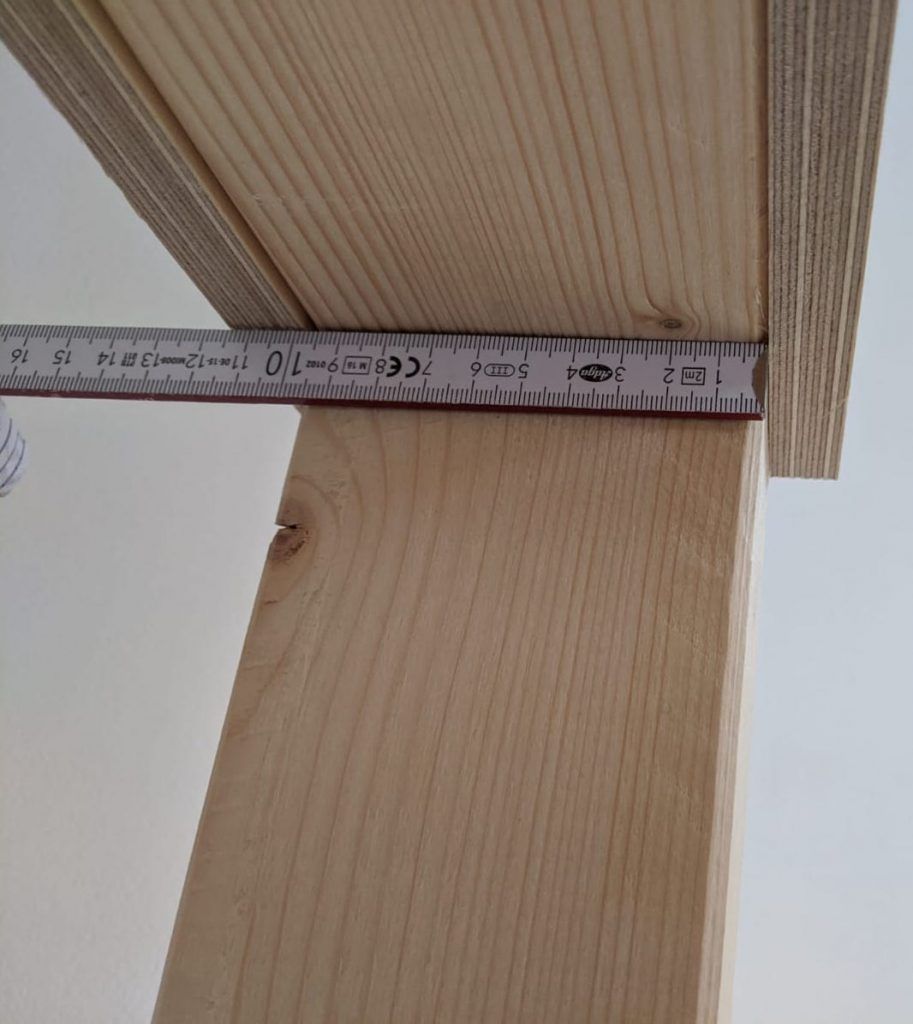
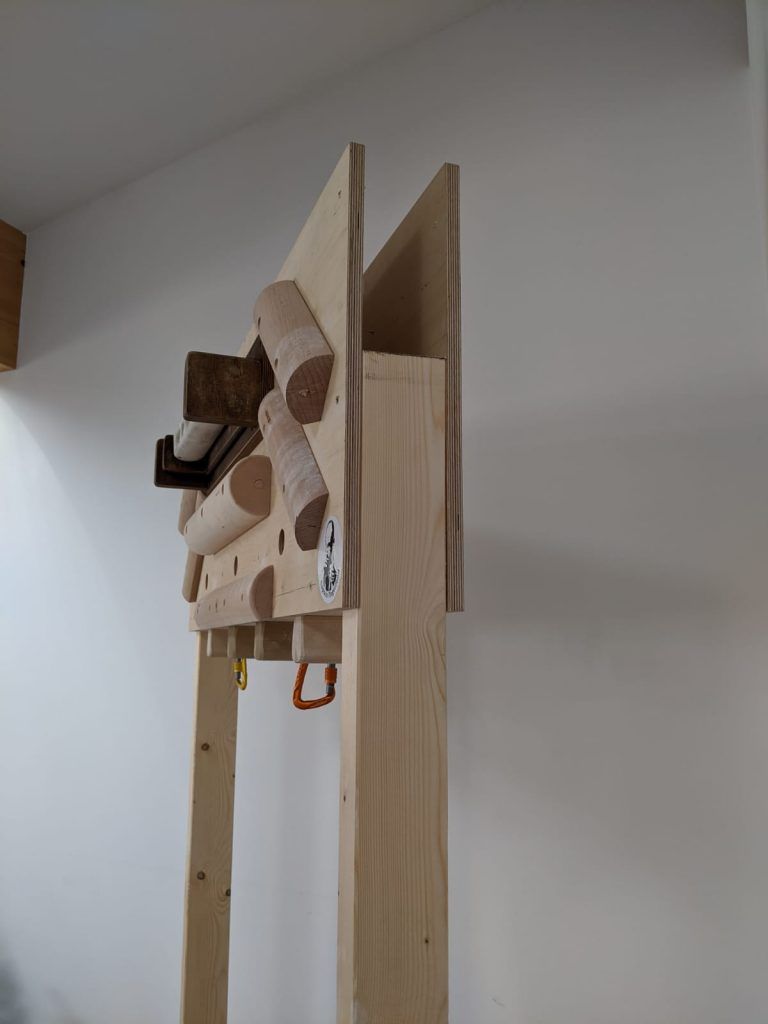
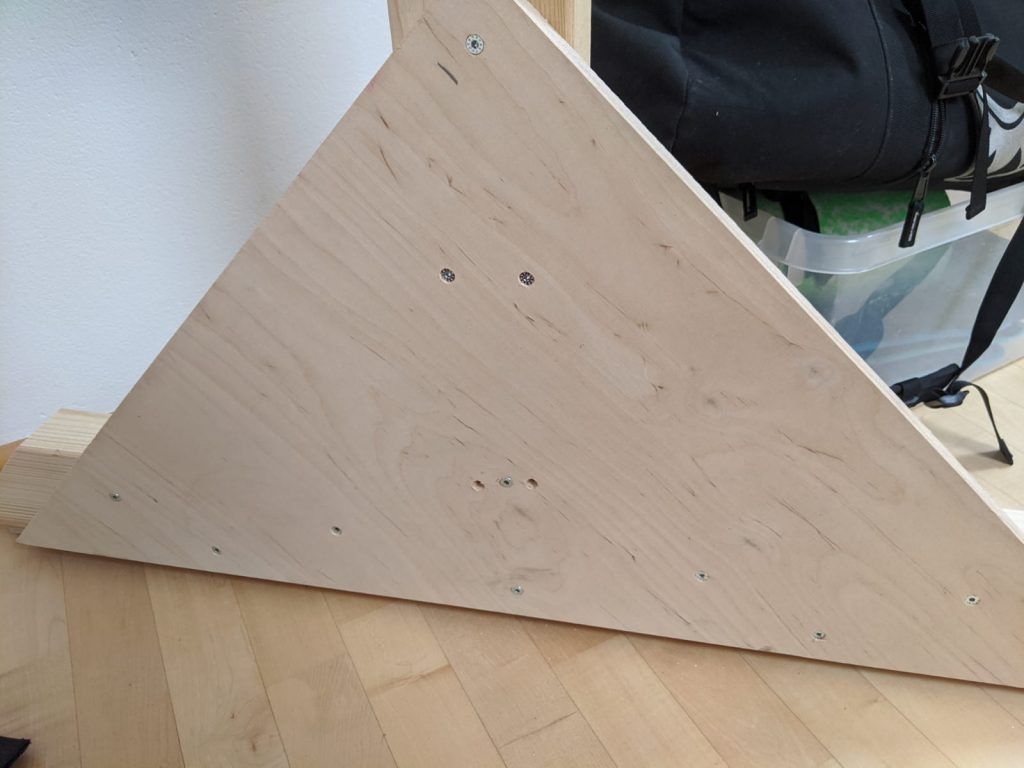
3. Stability – the main frame: We used the remaining multiplex board to make the triangles (90 cm × 65 cm × 65 cm) for the legs and joined them at right angles to a 100 cm and a 200 cm long KVH beam. When securing the parts, it’s better to use one screw too many than one too few – and it’s best to ask a joiner for a few tips to ensure the whole structure is really stable.
4. Facilities for the fingerboards: For the ‘decoration’, we ordered sloper rails from target10a.de and made the campus board rails ourselves from the leftover multiplex – this conserves resources and allows you to choose the depth to suit your needs. On the front, the Captain Fingerfood is positioned at the top, with a 90 mm campus board strip (round) and a 2 Sides Wood Rung 30 mm horizontally below it; to the left and right, there is one 2 Sides Wood Rung 45 mm and one 30 mm respectively. The mounting holes are 70 cm apart, with a third hole in the centre. On the back, horizontal slats (60 cm long, 4 cm wide) are fitted, the depth of which decreases by 2 mm from top to bottom (14, 12, 10, 8 and 6 mm); plus three rows of slanted slats measuring 14, 12 and 10 mm.
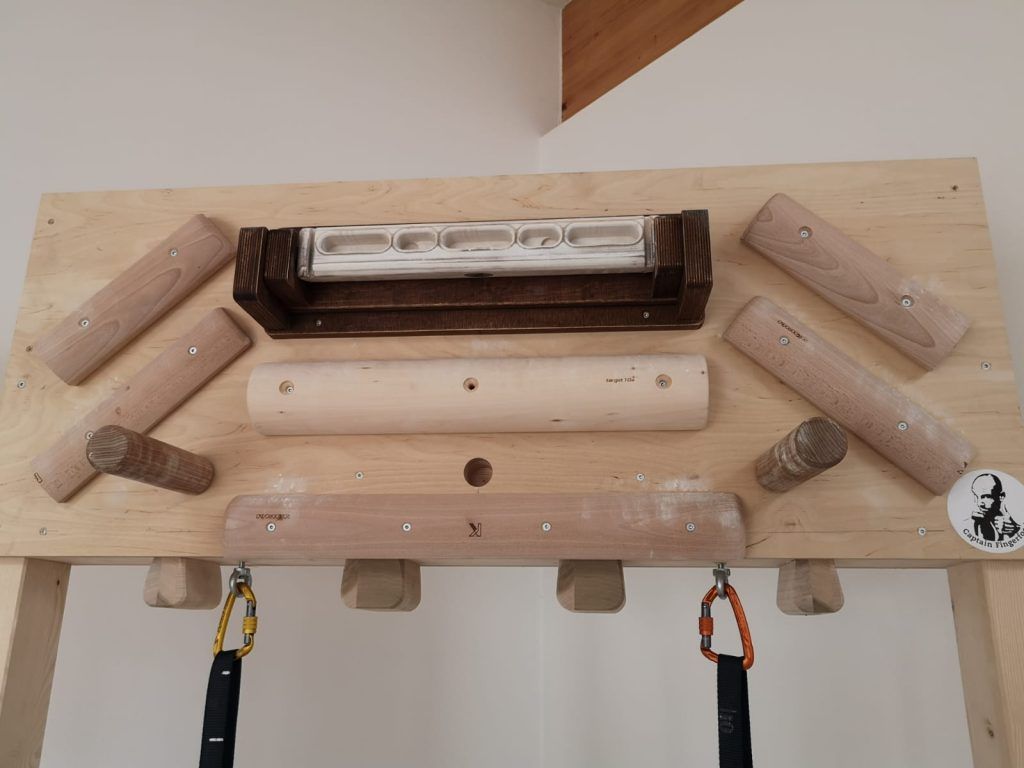
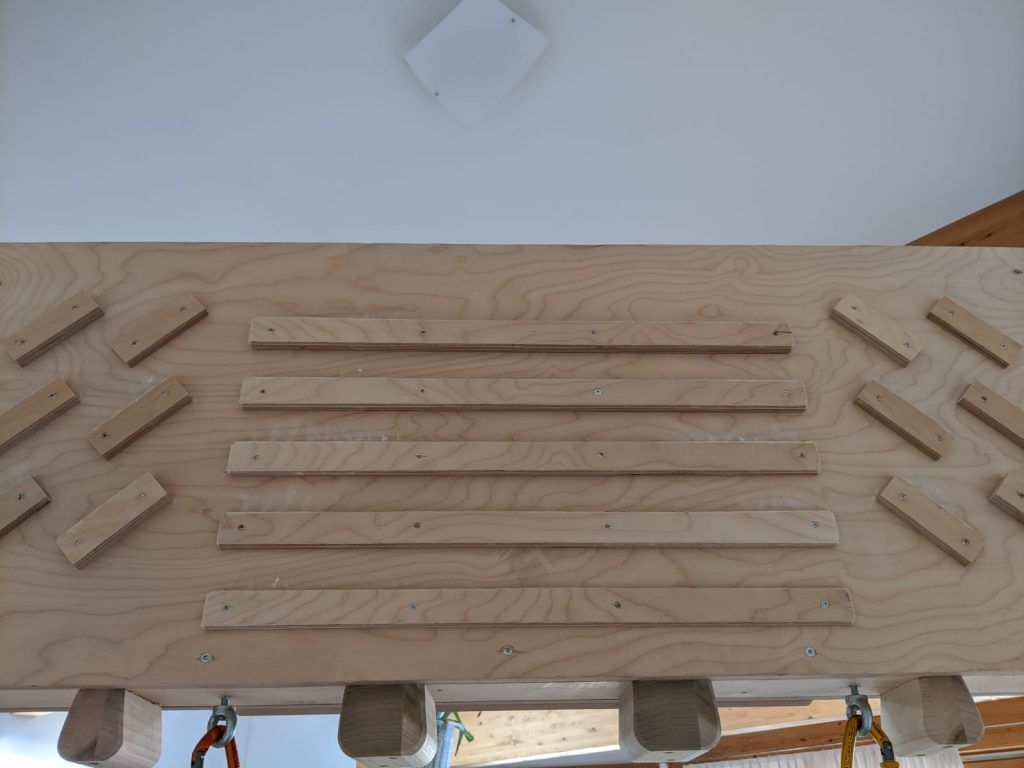
5. Rings and carabiners – the extras: We’ve fitted two rings for body-weight, chest and shoulder exercises. A couple of elastic bands on the side beams, a yoga mat in between – and your home gym is ready to go.
Summary: If you have a rough idea of what you want, it’s definitely worth building. You can do lots ofMaxkraft finger exercises in the living room – you can really go for it on mini-crimps or poor-quality slopers. If you want to fit fewer holds, simply leave out the smallest ones and work with extra weight on your body instead – it’s just as effective for training.
There’s no real excuse now. So let’s get stuck in! As a great Austrian of our time once said: “It’s quite simple. If it wobbles, it’s fat!” (A. Schwarzenegger)
Tips & Safety
Would you like to know more about climbing safety? Click here for our safety tips.
