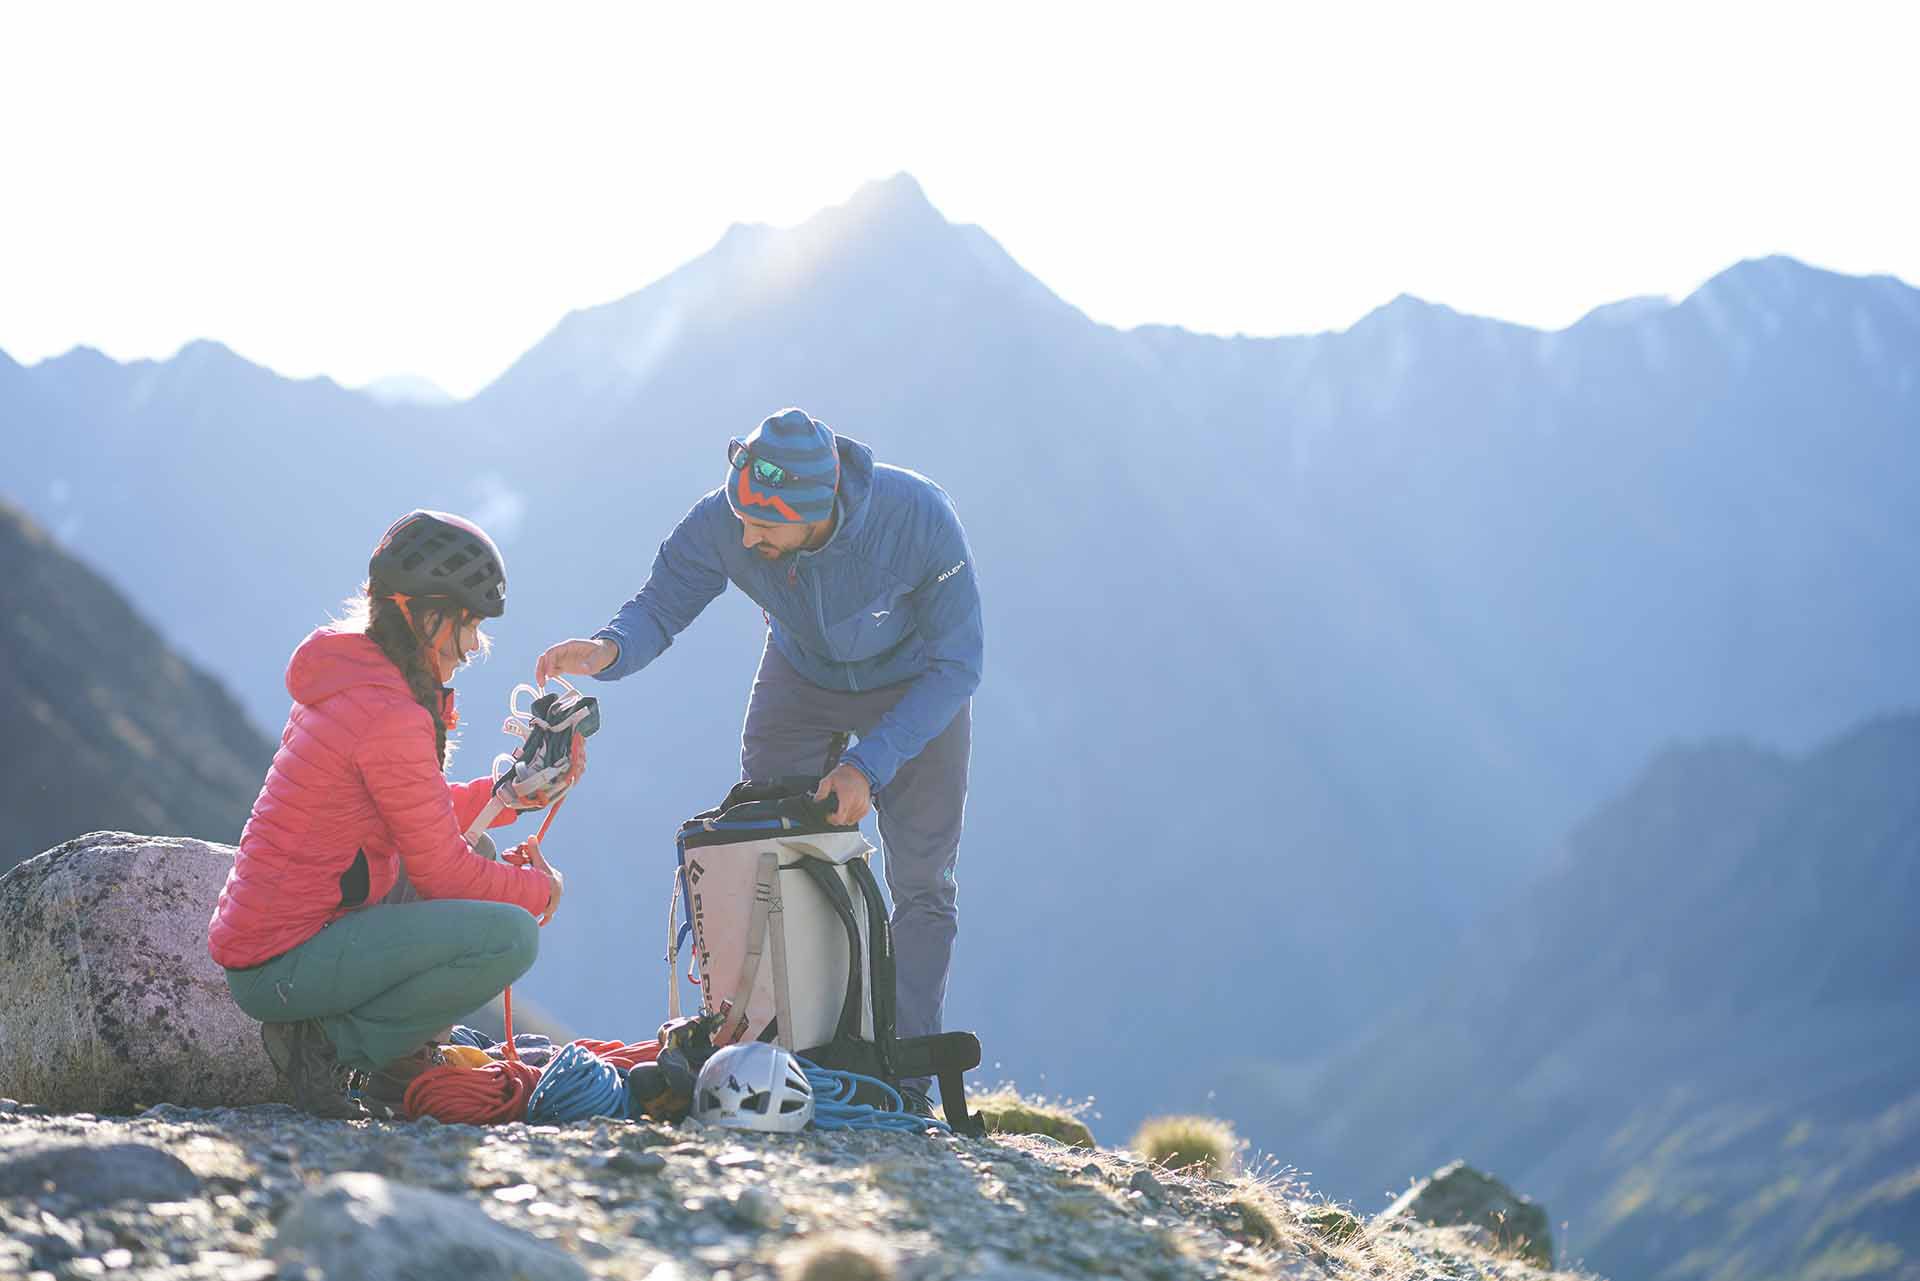
As with its alpine climbing range, the outdoor equipment manufacturer Ortovox has developed the ‘Safety Academy Lab Ice’ alongside the ‘Safety Academy Lab Rock’.
This video series, developed in collaboration with experts, explores the topic of high-altitude mountaineering and provides a solid theoretical foundation for anyone aspiring to undertake such expeditions. Whether it’s crevasse rescue techniques, walking with crampons or knot-tying – this video series offers a wealth of valuable information for all mountaineering enthusiasts.
Text: Benjamin Zörer
What do I actually need for a high-altitude trek? The questions that arise before your first trek are almost always the same:
The Safety Academy Lab Ice provides the answers to precisely these questions.
Which knots should mountaineers master if they’re planning a high-altitude climb? The figure-of-eight knot used in sport climbing isn’t a bad start – but you won’t get very far with just that one. You should be able to tie a half-hitch, a clove hitch, a Prusik and others automatically.
Don’t know how to tie them yet? Don’t worry: in the knot-tying videos, state-certified Mountain Guides show you step by step how to tie each knot and when to use it.
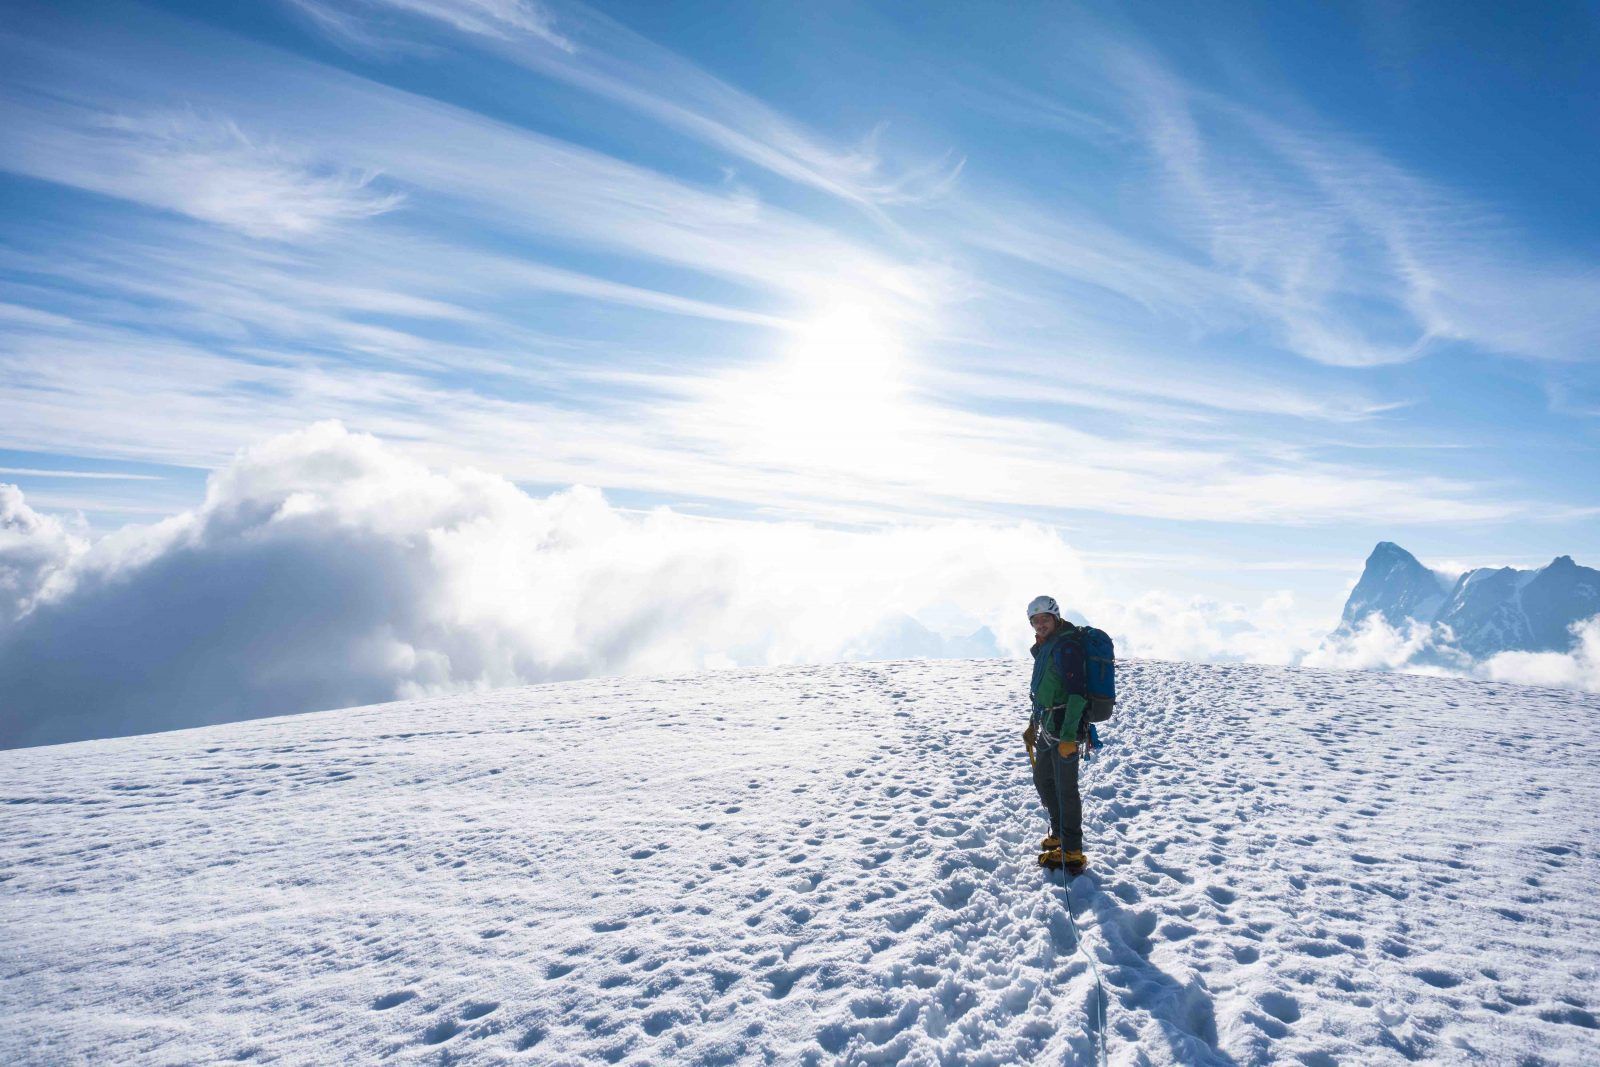
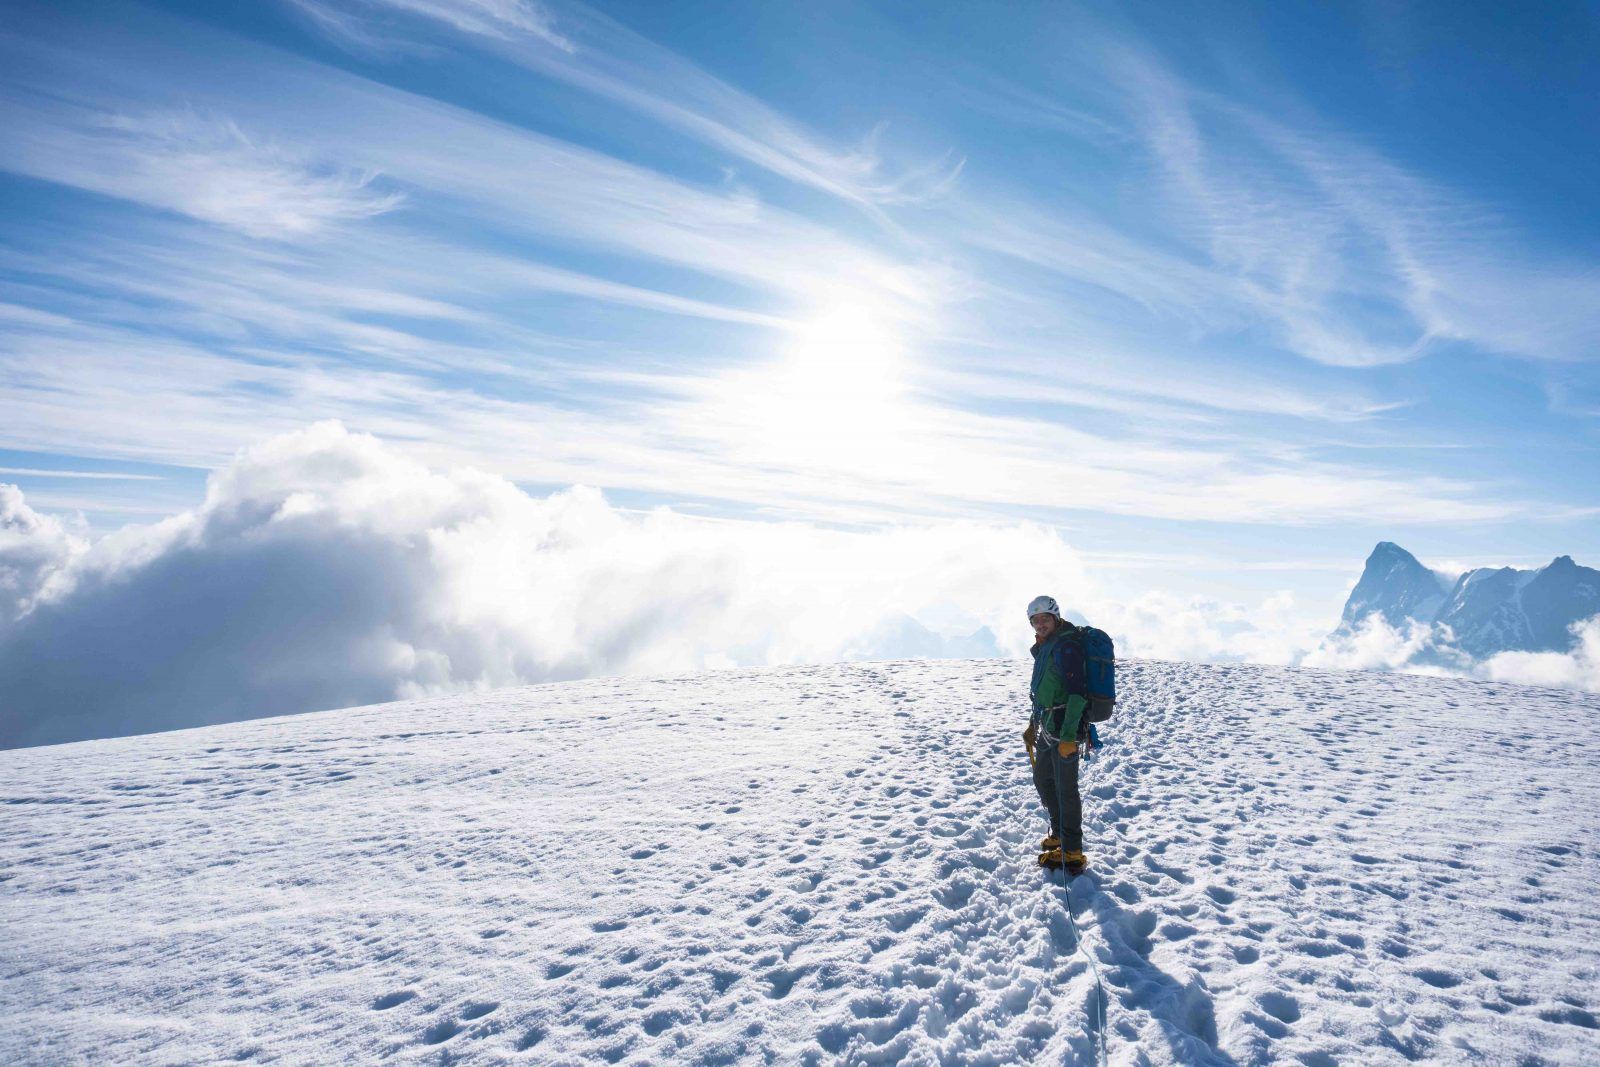
Moving across glaciated terrain is a little different from walking on a Hiking Trail. When should I put on my crampons – and how? Should I rope up, and if so, how?
Walking with crampons is considerably more strenuous than normal walking and requires different techniques due to the sharp points. Depending on the terrain and gradient, you should try to use the ‘all-points’ technique for as long as possible to spare your calves. As the terrain becomes steeper, you first switch to the mixed technique before moving on to using only the front crampons. But how do I traverse a slope with crampons, and how do I use my ice axe whilst doing so?
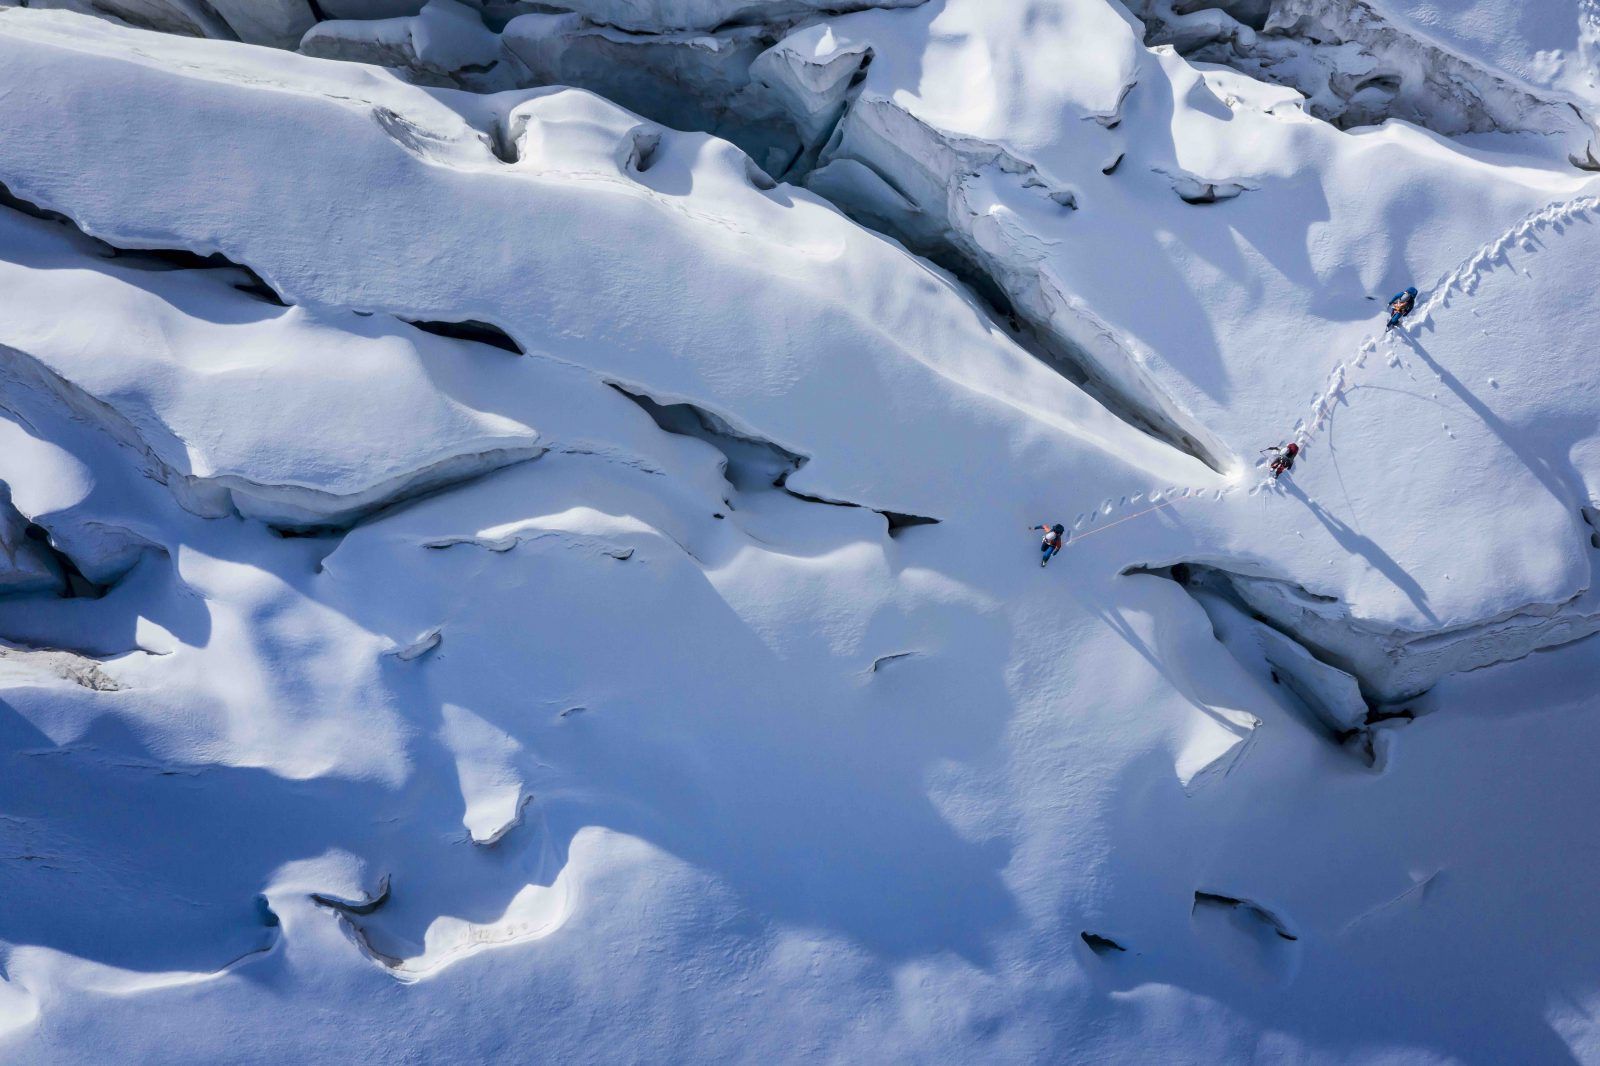
Once you’ve put on your crampons, the next question quickly arises: should you rope up or not? This depends very much on the glacier and your own knowledge of it. As a general rule: you should be roped up in glaciated terrain. But how, and with which knot? Do I tie myself directly to the rope? How many metres apart should the members of a rope team be? You’ll find answers to these questions too in Lab Ice.
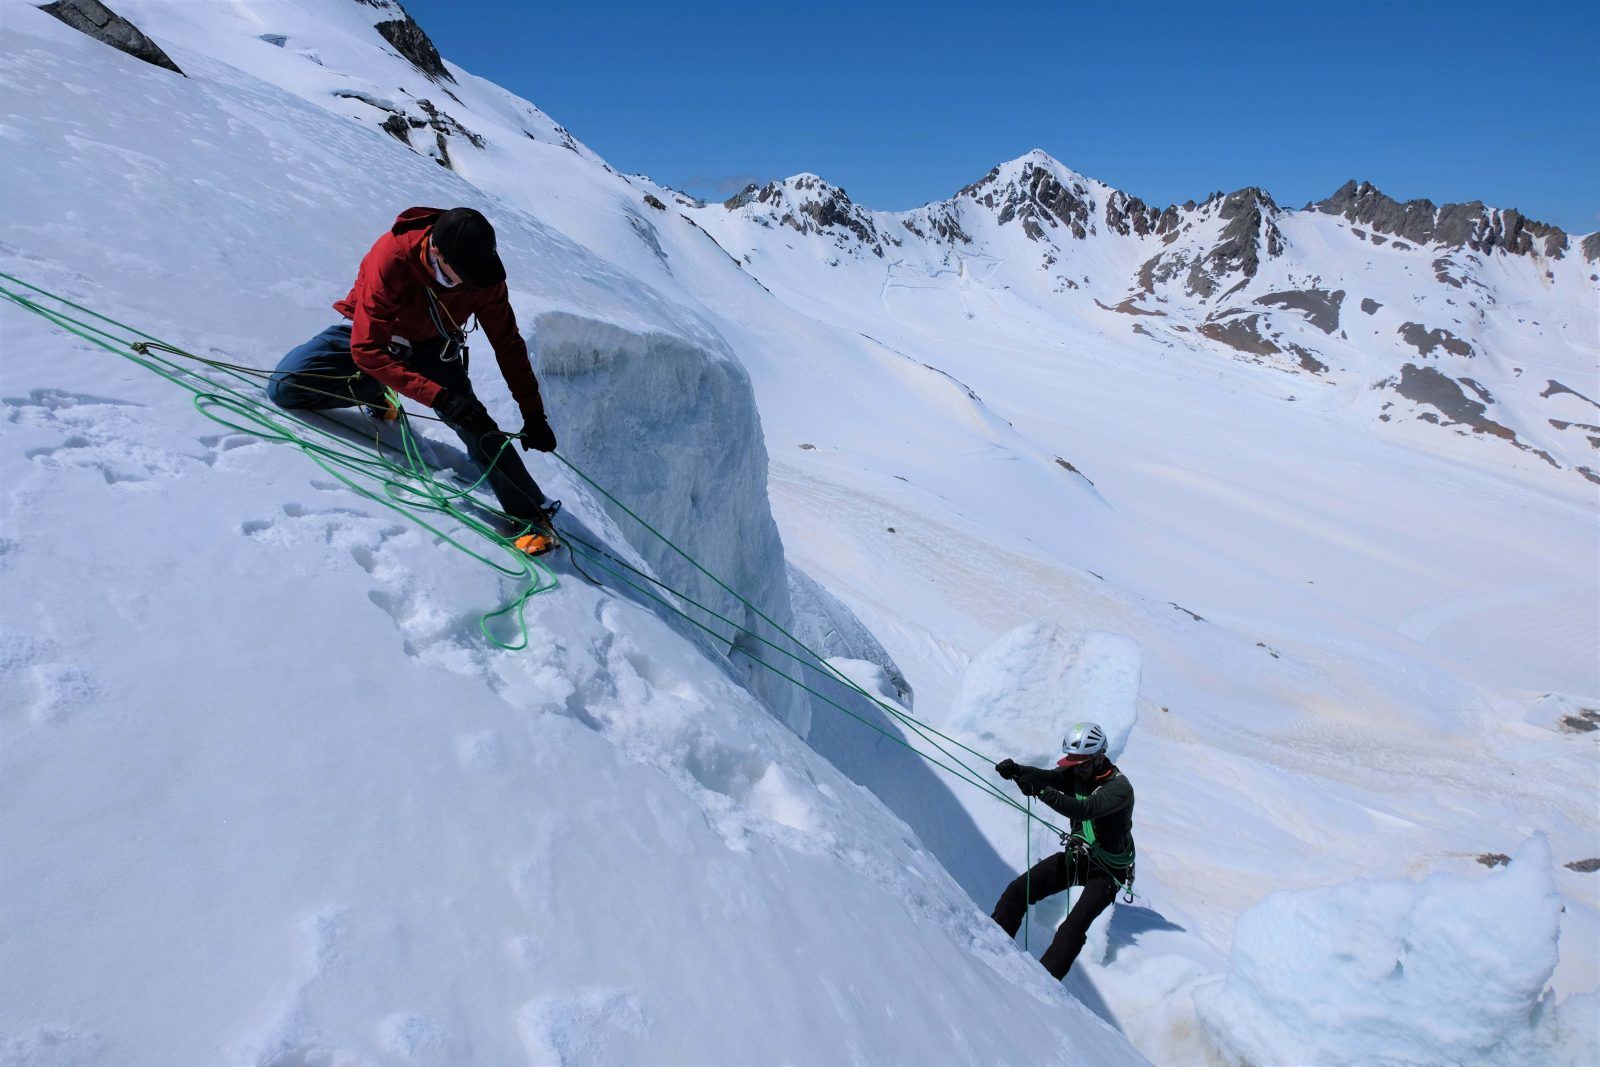
What should I do if the dreaded fall into a crevasse occurs? First and foremost, you must stop the fall and then create a secure anchor to transfer the load onto it and begin the rescue. Depending on the terrain, you should choose between a T-anchor or – in the case of solid ice – an ice screw or ice anchor.
Rescue methods vary depending on the size of the rope team: whilst in a large rope team it is usually quite easy to pull the fallen person up using a team pull without the need for pulleys, the whole process becomes considerably more complicated in a two-person rope team. Therefore, it is essential to refresh and consolidate the skills you have learnt before every high-altitude mountaineering season. The individual videos explain how the various techniques work, step by step and with hands-on guidance.
Information current as of 2026, according to ortovox.com.
With the Safety Academy Lab Ice, Ortovox has created a video series that offers real added value. However, it cannot replace a week-long high-altitude mountaineering course with a Mountain Guide. The videos are, however, ideal for preparation or as a supplementary resource.
With that in mind: here’s to a successful and, hopefully, injury-free high-altitude touring season!
Tips & Safety
Would you like to know more about climbing safety? Click here for our safety tips.