
How is a climbing guide actually put together?
Almost as important as a rope and a belay device – and yet you wouldn’t guess from looking at the books just how much work has gone into them.
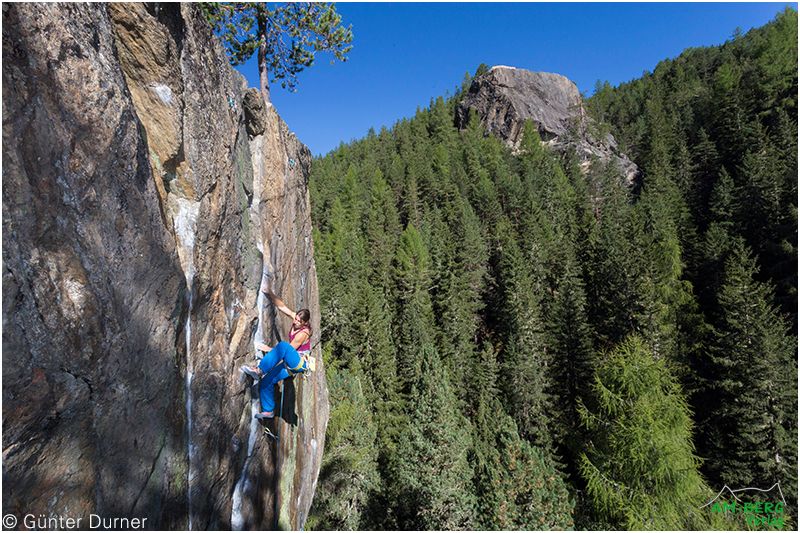

A reliable guidebook is an essential part of any climber’s kit: routes, Levels of Difficulty, how to get there – a thousand little details that make all the difference to a successful day on the rock.
The romantic notion of going for a bit of a climb, taking a few photos along the way and then putting it all down on paper has absolutely nothing to do with the work involved in producing a reliable climbing guide.
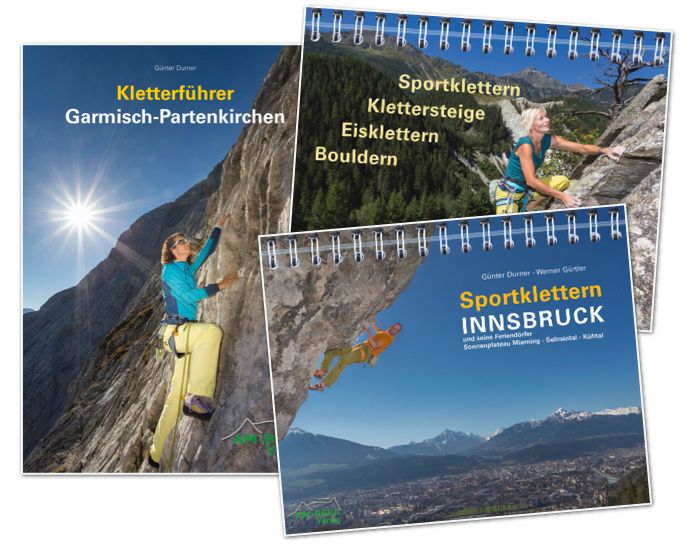
Günter Durner from Am-Berg Verlag in Garmisch-Partenkirchen, known for its tour guides and textbooks, has summarised for us what’s important when compiling a climbing guide.
Text: Günter Durner
Creating a successful climbing guide requires a great deal of expertise, plenty of tools and numerous individual steps. It always begins with a fundamental question: What do I actually want to achieve with this guide – and what do I need to do so?
Apart from the climbing area to be described, all the individual elements stem from the concept:
To bring this to life, you’ll need the following – or know someone who does:
Hardly anyone realises just how labour-intensive and complex it is to turn a blank sheet of paper into a finished product for the book trade.
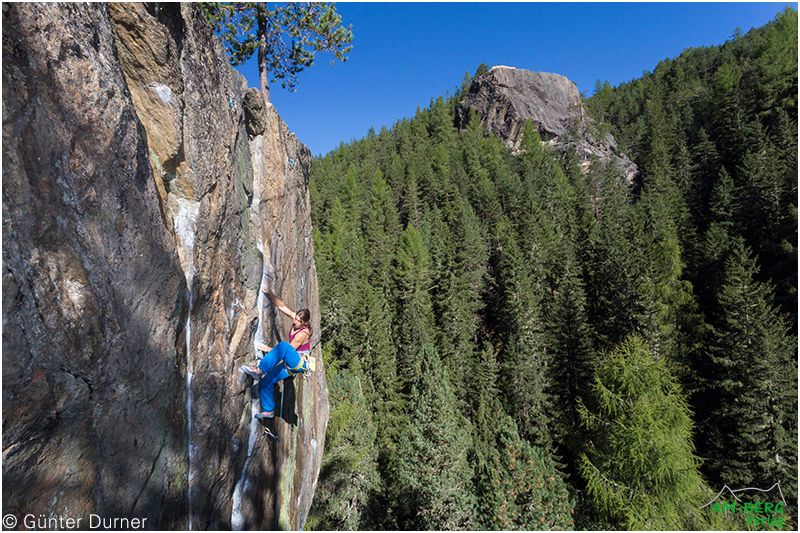
Writing a climbing guide is a world away from simply going for a climb, picking up a bit of information here and there, and then squeezing it all between two book covers. It requires a completely different approach to climbing: one where the focus is not on having fun, but on gathering information and data.
A computer mouse instead of climbing holds. The vast majority of working time is spent not on the rock, but at the computer – sifting through, verifying, processing and organising the enormous volume of data. For me, this data processing is often a greater challenge than a difficult climbing route. My high standards mean that the project isn’t finished until I’m one hundred per cent satisfied. You can never please everyone, though – but criticism is usually an incentive to do better in the next edition.
Step 1 – The plan. The first and most important step. It sets out in detail when, what and how things need to be done. The more precise the plan, the easier it is to carry out – essentially, it’s nothing more than project management.
Step 2 – On-site research. This is where all the relevant data is gathered: approach time, route length, Levels of Difficulty, GPS coordinates and much more. Pictures of the walls and climbing routes are also taken.
Step 3. The layout. Once all the data is in place, the real task begins: sorting it. First, a grid is created in the layout programme, which is then filled with the processed data.
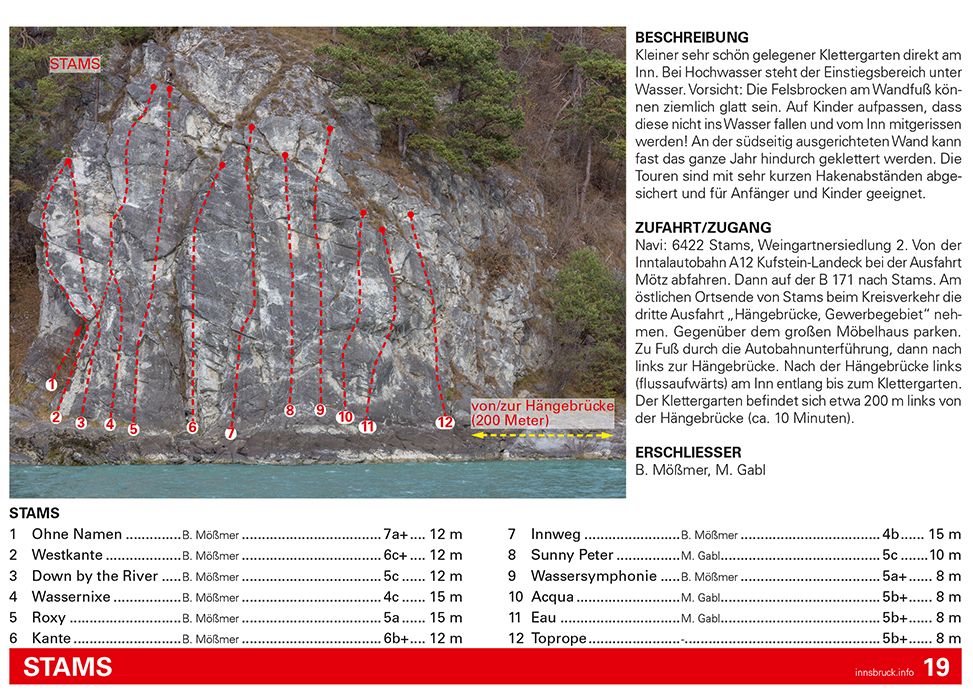
At the heart of every tour is the photo topography. First, you need to choose the right photo of the crag. Then it is edited, and routes, detours, belay stations and numbering are added to it.
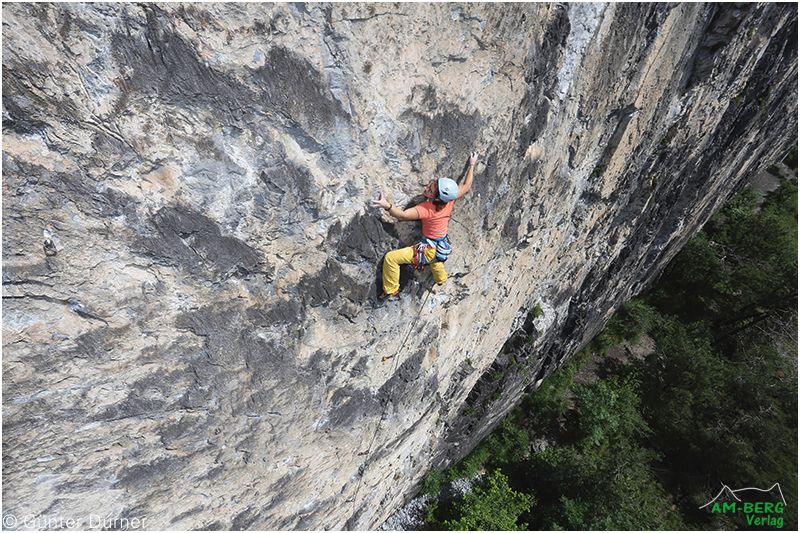
The biggest challenge is the photo of the crag itself – because the quality of the topography depends on it. Photographing a crag in such a way that topography can be created from it is more difficult than one might think:
Durner usually takes several hundred photos of a wall. In the end, only a few of them are suitable for use as a wall image.
A good climbing guide also includes a map showing how to get there – otherwise you simply won’t be able to find the crag. The maps are created using graphics software and are formatted accordingly.
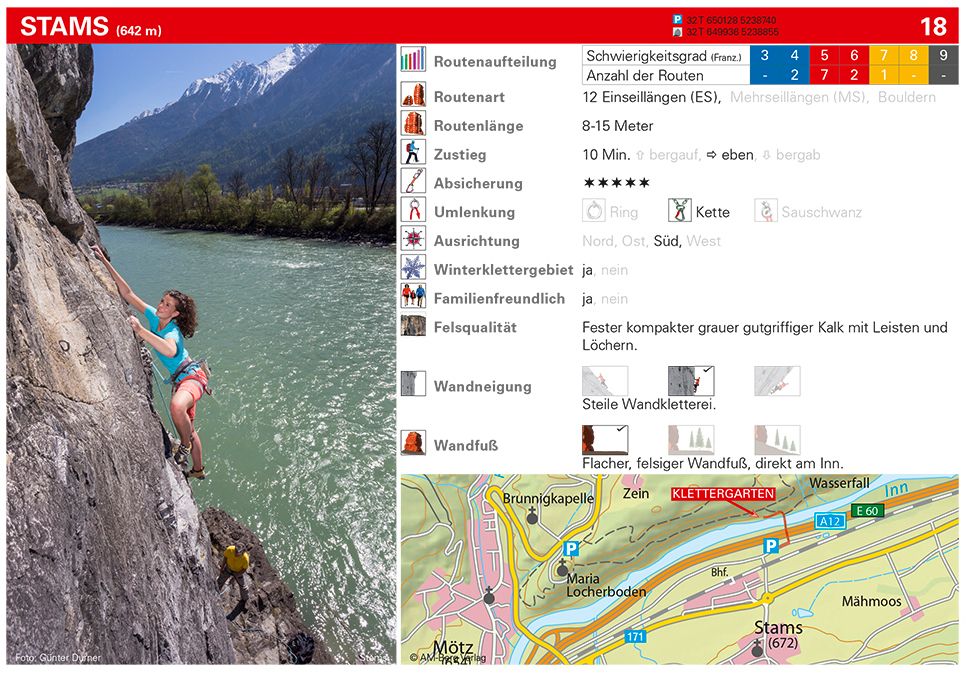
Step 6 – Bring all the data together. Once the photo topos and access maps are ready, add the area, route and access descriptions, GPS data and everything else. Everything is incorporated into the layout. As every area has its own unique characteristics and every Rock Climbing Area is a different size, the layout has to be constantly adjusted – in keeping with the design principle ‘form follows function’.
Step 7 – Checking. All the information is checked, supplemented and corrected by locals. This process takes a long time and is often nerve-wracking: numerous quality criteria have to be discussed, decided upon and met.
Step 8 – Images. A climbing guide without pictures is like a route without bolts. The imagery should convey as much as possible about the area: what sort of routes can I expect? What does the landscape look like? Is it mostly shaded or sunny? Is the rock in the forest or in open terrain? And last but not least, the pictures should make you want to go climbing.
Once all the hurdles have been cleared, the climbing guide can go to press.
Tips & Safety
Would you like to know more about climbing safety? Click here for our safety tips.

