
From the gym to the crag: 5 tips
In this interview, SAAC Mountain Guide and sport climbing instructor Gerhard Mössmer explains what beginners to rock climbing should bear in mind when making the switch from indoor climbing.


The basics for all rock-climbing beginners who want to make the switch from the climbing centre to the crags – by SAAC Mountain Guide and Tirolean sport climbing instructor Gerhard Mössmer.
Gerhard Mössmer is a passionate Mountain Guide who loves being out and about with people and sharing unforgettable moments. Given the choice, he prefers to be out on the rock. In an interview with the SAAC, he explains the differences between climbing outdoors and in the gym, and offers tips on rock climbing.
It’s quite simple: experiencing nature certainly plays the most important role! Why go through the motions on routes in a dusty hall when you can move around outdoors on natural formations? Of course, it’s also about the overall experience of a day’s climbing – the ascent and descent, discovering new areas and feeling at one with nature. The natural formations of the rock – with their various rock types (limestone, gneiss, granite, sandstone, etc.) – offer endless variety.
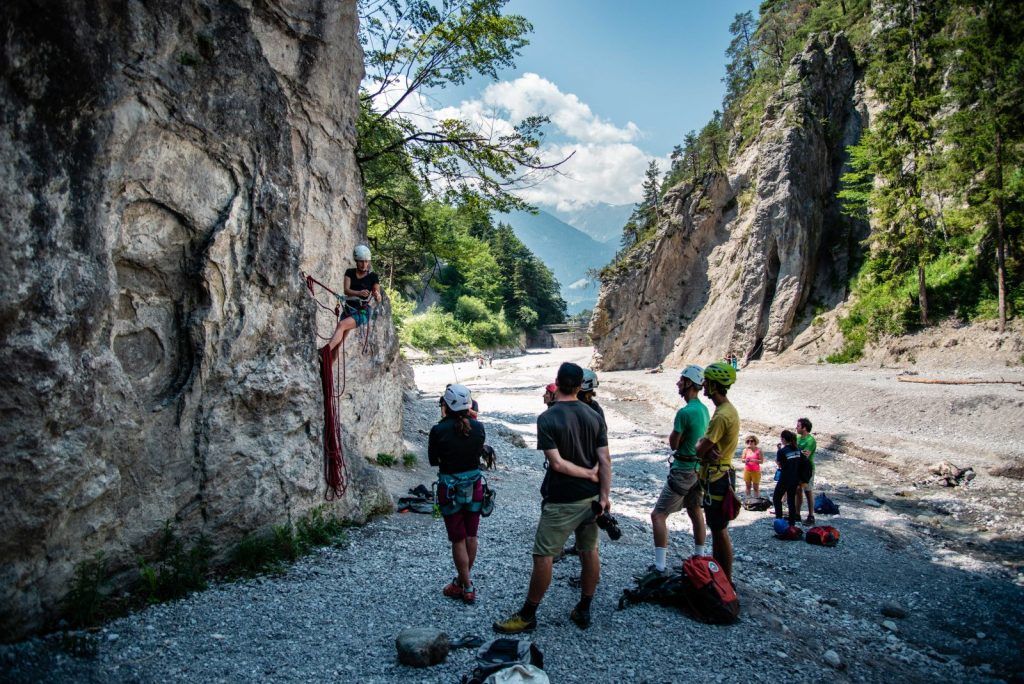
A Rock Climbing Area is a Rock Face equipped with belay points (bolts) at regular intervals and with anchor points at the top. This means you always return to the ground. These routes are known as single-pitch routes or base climbs. In a Rock Climbing Area, you’ll find various routes that are described and graded, helping you to choose a route. Rock Climbing Areas are set up and maintained by the operator to ensure safety standards are met. However – unlike in a climbing centre – you must be prepared for Alpine Dangers such as rockfall (possibly also on the Access).
Tip: On Climbers Paradise, you’ll find over 130 superbly maintained Rock Climbing Areas with free topos throughout Tirol!
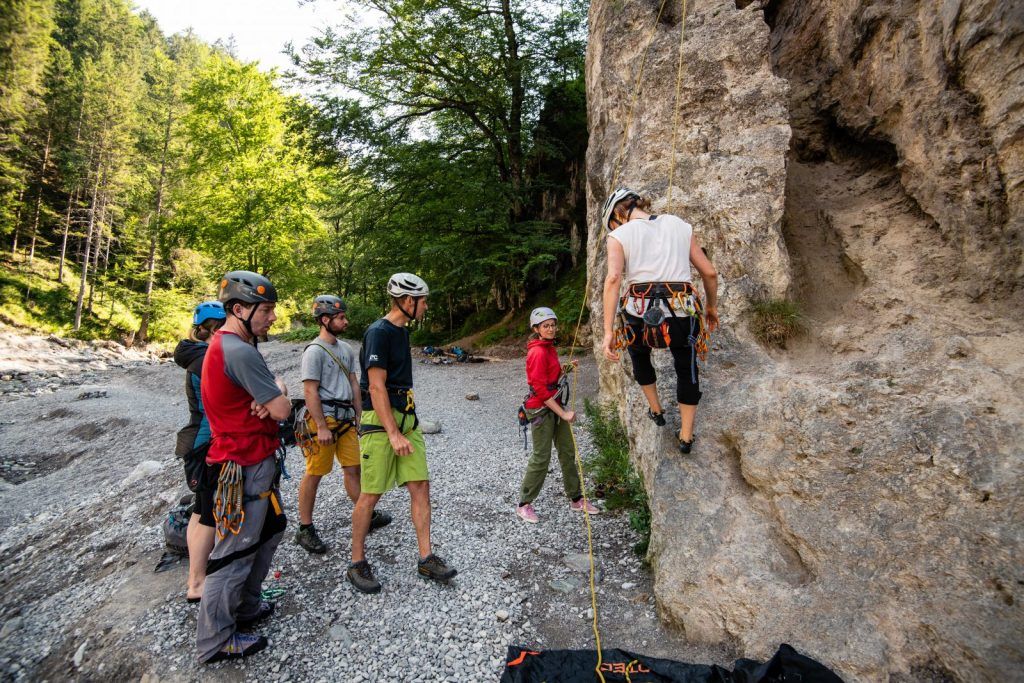
At Rock Climbing Areas, you need what’s known as a ‘topography’, which describes the routes by difficulty and distance. This way, you can always find the right route. Getting off a route is more difficult at a Rock Climbing Area than in a climbing centre, as there aren’t as many holds from other routes that you can use. The climbing technique itself is similar to that used indoors. However, the rock is more difficult to ‘read’: the solutions are not always obvious, as there is no colour-coded guidance as there is indoors. Climbing a route at the first attempt (onsight climbing) is significantly more difficult outdoors. Over time, though, you get a feel for the rock and find the solutions more quickly.
Typical hazards include falling rocks from above (wear a helmet!) or rockfalls along the route. You should also always keep an eye on the weather and, particularly if a thunderstorm is imminent, start your descent in good time. Take care on steep terrain during the ascent and descent – this may also apply at the start of the routes. Always stay alert, especially when looking up whilst belaying. When planning your route in advance, take note of the distance of the routes so that you have a suitable rope with you – climbing routes on natural rock are often longer than those in a climbing centre.
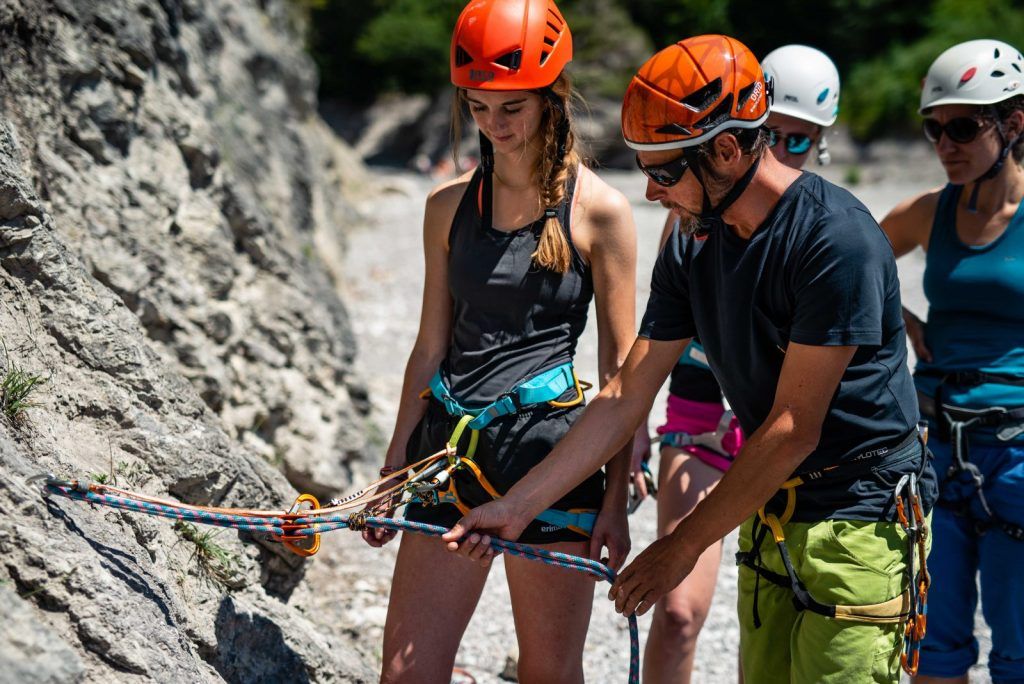
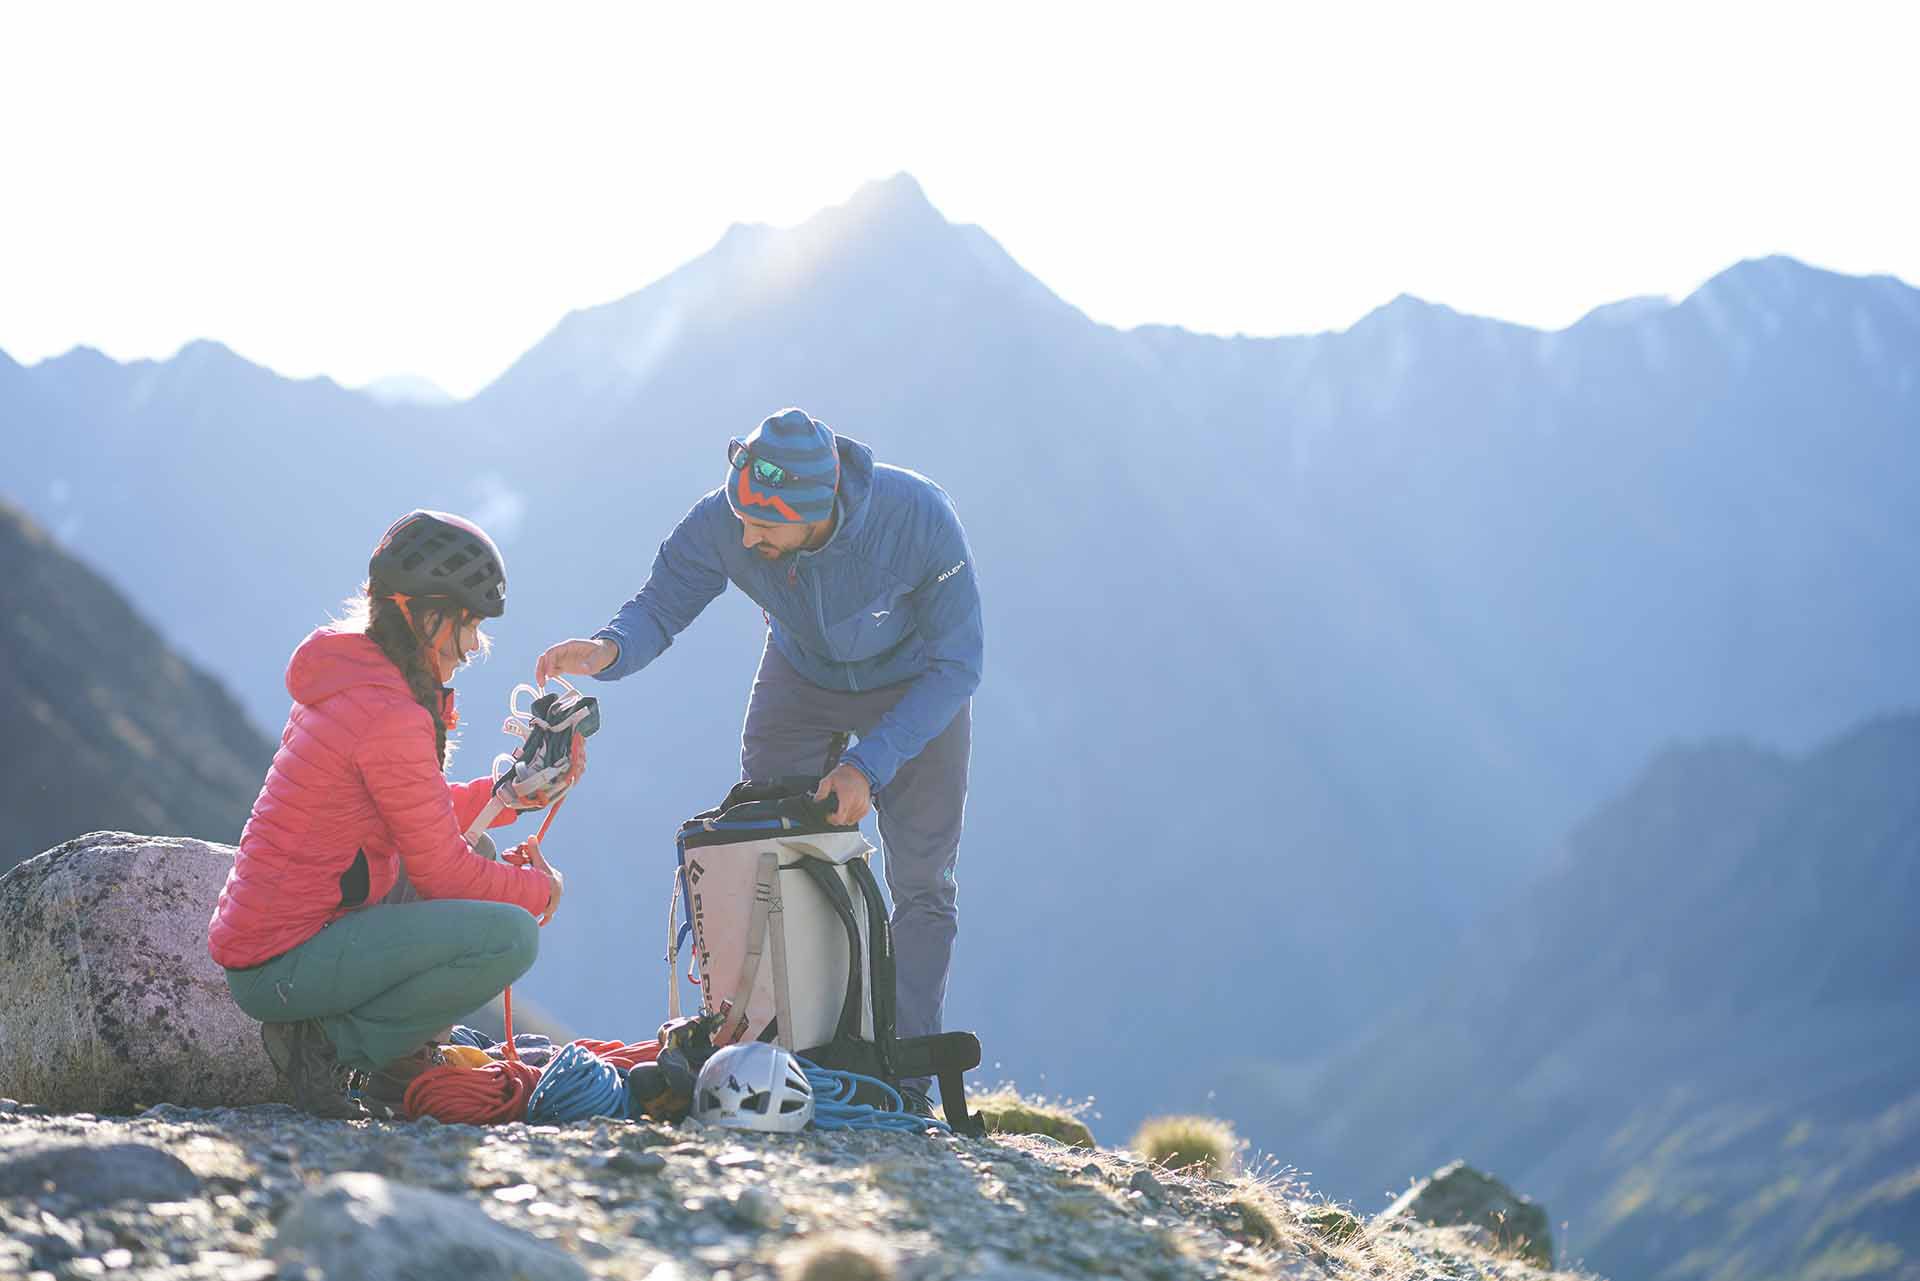
In addition to the climbing kit we’re familiar with from the indoor climbing centre (climbing harness, rope, belay device), you’ll need plenty of quickdraws and a rope that’s long enough. This can vary depending on the Rock Climbing Area – you may need 70 to 80 metres. A rockfall helmet is just as much a part of your kit as a screw-lock carabiner for any adjustments you might need to make to the pulley. Good planning in advance helps you avoid unpleasant surprises in a Rock Climbing Area (rope too short, not enough quickdraws, etc.).
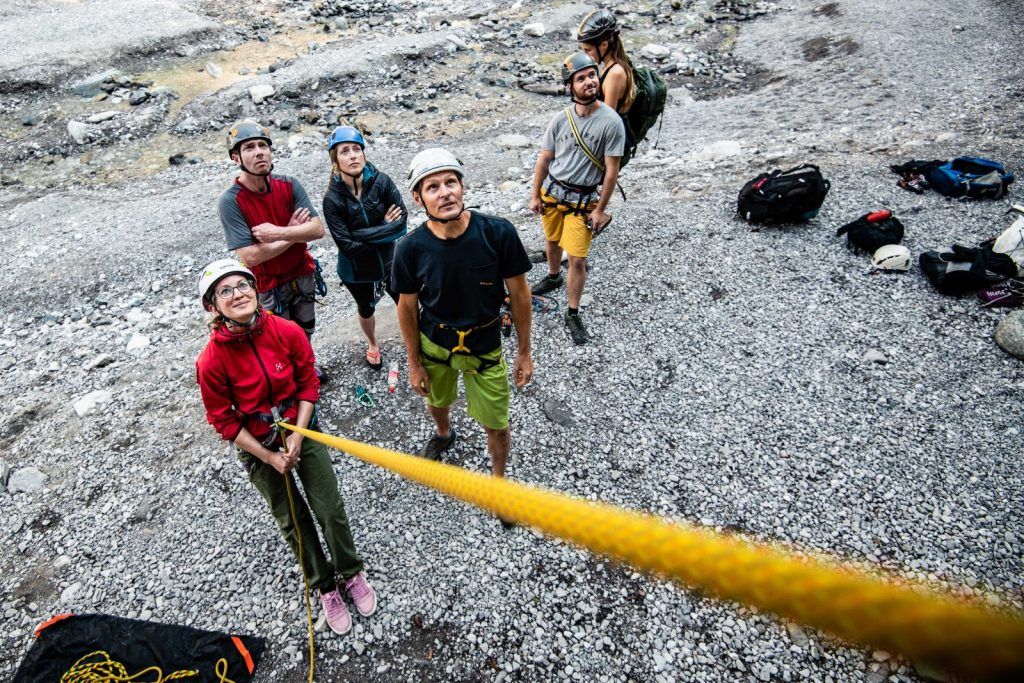
Tips & Safety
Would you like to know more about climbing safety? Click here for our safety tips.


